Home » Blog » Dissociation » Touch board & Electric Paint Testing

Touch board & Electric Paint Testing

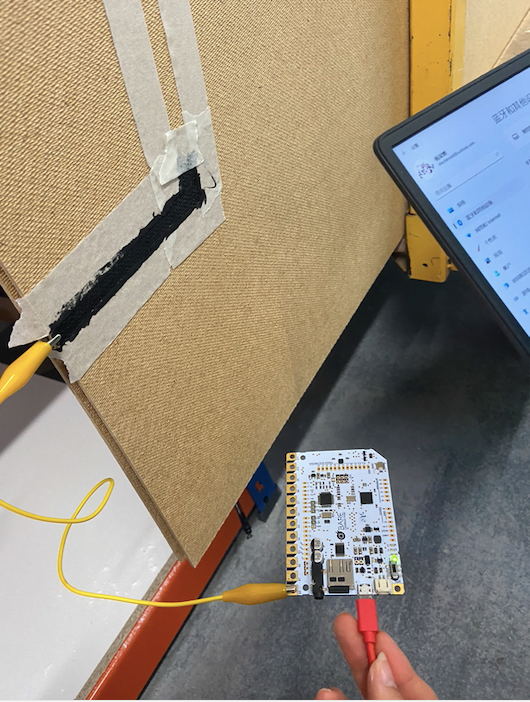
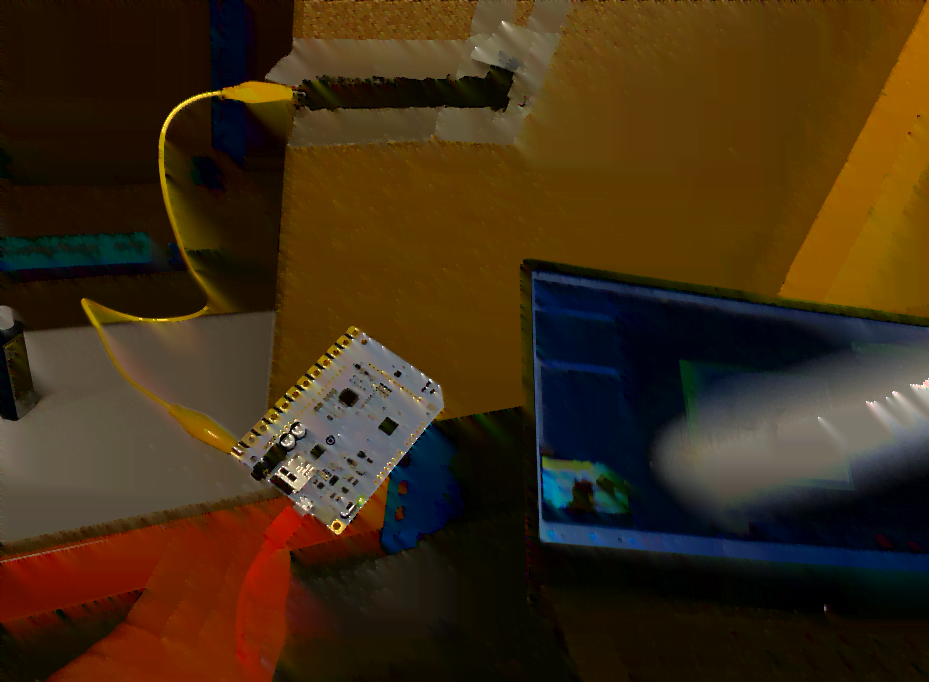
Today, we previously nailed the nails to the board by means of an electric drill as a point of fixation and support for the board, after which some simple adjustments were required due to some problems with the size of the board. Now the boards are the right size and fit together perfectly, we tested using this special paint with tape on the boards. The touch function works in a reliable status.

Related Post

Further construction and refine work of the projection frame
Tutorial with Chris & Review Discussion
EMS Workshop --- Arduino LED Strip Lights
2nd Ver. of the Frame Design - with the advice from Phil and Liam
Cube Stand & Cube Painting 1
Strip light and Arduino tutorial

Comments

发表评论

Haoran's Stock Login